Nana’s Kitchen: Homemade butter
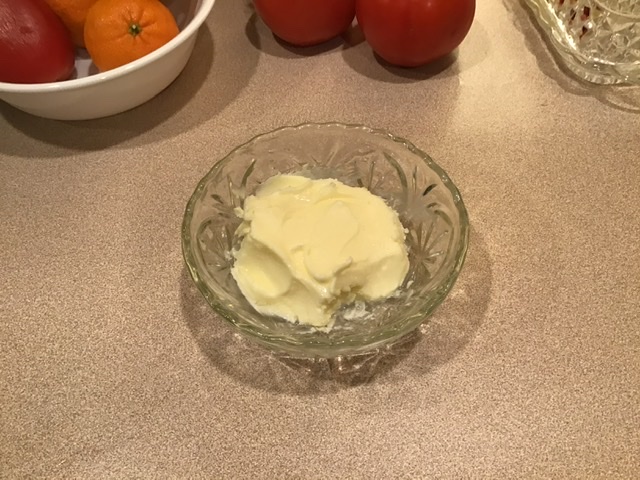
The final product of making butter at home. Nana’s Kitchen photo.
Nana’s Kitchen: Homemade butter
Greetings, home cooks, welcome to Nana’s Kitchen.
In the past a time consuming chore was that of butter making.
Butter is made by skimming the cream from the milk. Cream would rise to the top
Of the milk after it sat for a few days. Then skimmed off and placed in a butter churn.
Butter churns were made of wood or possibly stoneware (a more expensive option).
The churn was tall with a dasher extending though a hole at the top of the churn.
The dasher was a wooden pole with crossed wood pieces at the bottom to agitate the cream as it was moved up and down.
Butter would form and be scooped out of the churn. The remaining butter milk would
Be used for drinking or cooking.
Butter would then be placed in a bowl and repeatedly rinsed with cold water until the
Remaining milk was gone. Adding salt, kneading, and placing in a mold completed the process.
Homemade butter:
You can make your own butter at home today using a glass jar, mixer, blender or small glass butter churn.
It is a fun project for children. A good way to include them in the kitchen.
You will need:
Jar: pint or quart with a snug fitting lid.
Heavy whipping cream, brought to room temperature.
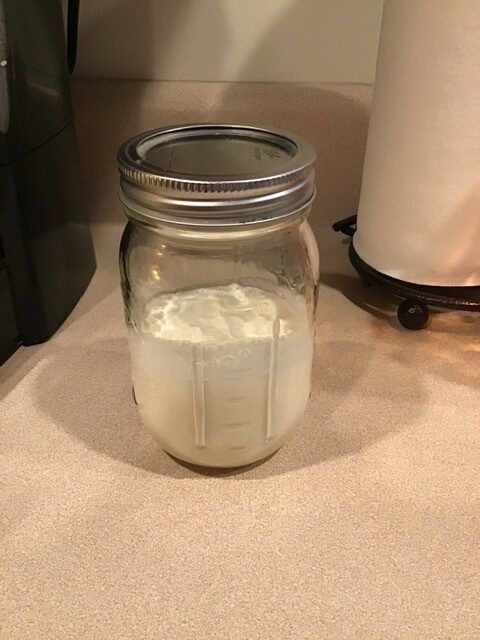
Fill jar half full with whipping cream.
Do not over fill as the cream needs space to move around.
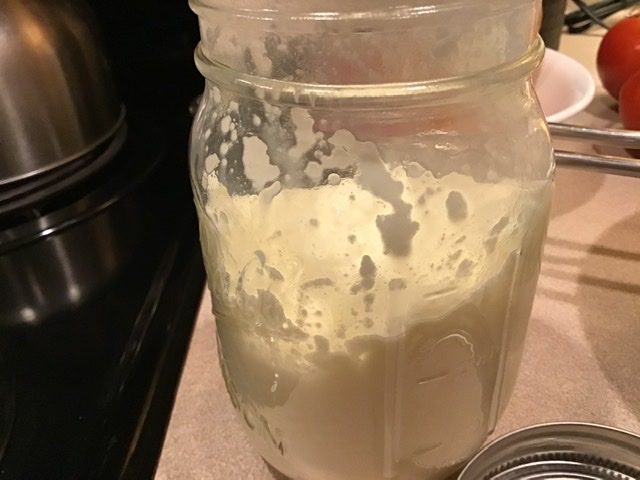
Once the jar is ready: Shake-Shake-Shake
A lump will form and be visible as the solids separate from the milk.
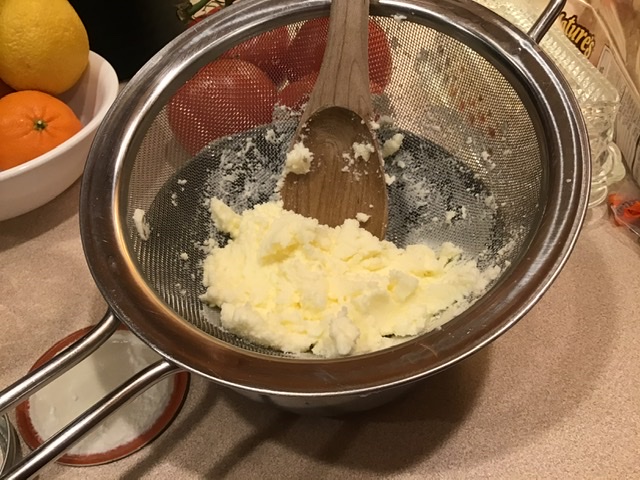
Remove the the solids by draining jar into a fine mesh sieve over a bowl.
The contents of the bowl can be saved for drinking or cooking.
Run cold water or even ice water gently over the butter till it runs clear.
The more the waste milk that is removed the longer the butter can last.
Pressing gently with a wooden spoon, spatula, or fork press out remaining liquid.
Sprinkle with salt to taste.
Place in an air tight container.
Enjoy!
Hints:
The whipping cream must be at room temperature for best results.
Good for at least 3- 5 days at room temperature, 2 -3 weeks refrigerated.
The more milk extracted the longer the butter will last. Milk left in the butter will go
Rancid quickly.
Salted butter lasts better than unsalted, due to the antibacterial properties of the salt.
A cheese cloth may be used to strain the milk from the butter.
Have a blessed day!

Each Sunday take a visit to Nana’s Kitchen with this weekly column from Annie Rosencrance. Nana’s Kitchen is for a new cook to the experienced cook. Everything from recipes to cooking tips and more from an Appalachian prospective will be featured exclusively on the Meigs Independent Press.